
Quick comparative snapshot
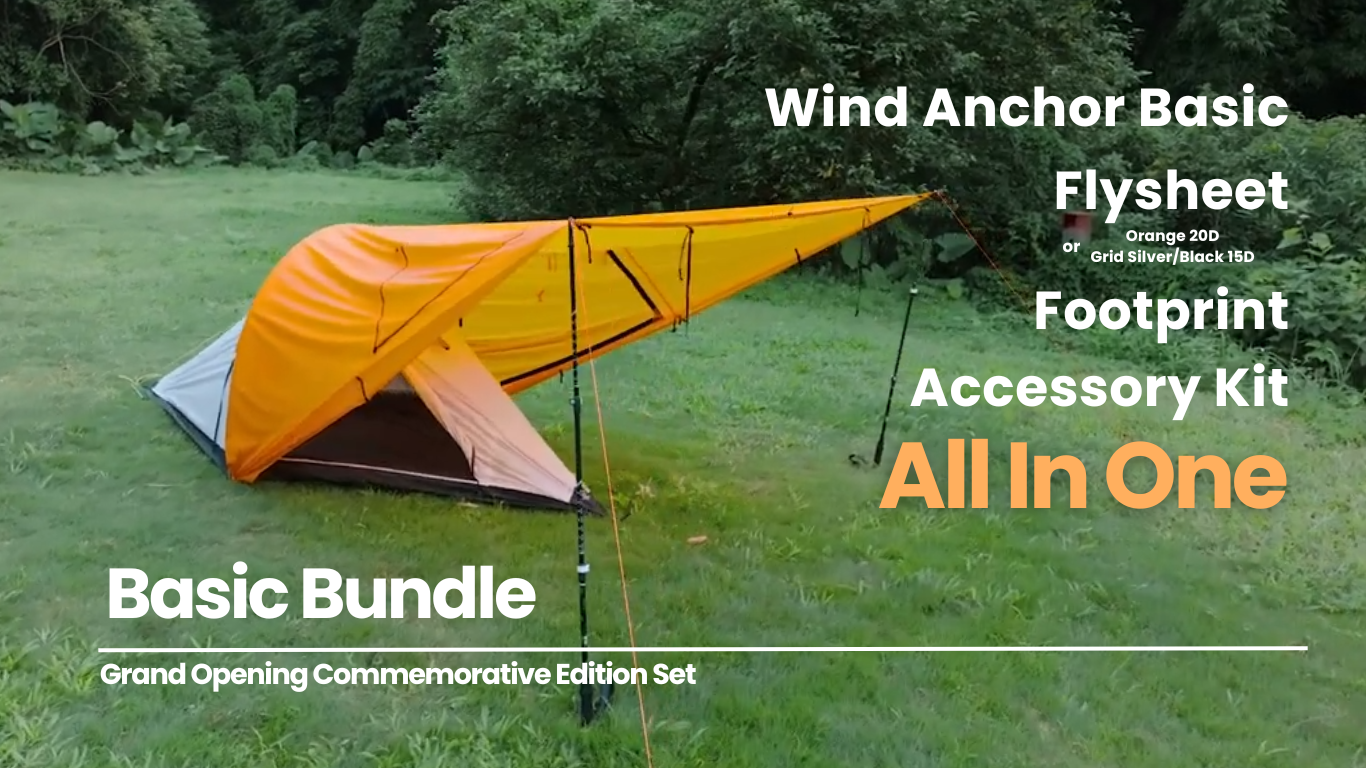
You want a tent that packs light, breathes, and doesn’t feel like a coffin after a rain-soaked day on the trail. That’s the trade-off trio: storage, ventilation, comfort. Think of them as competing priorities that different designs balance differently. If you need a fast compromise between them, a camping tent bundle often lands in the sweet spot — decent vestibule space, decent airflow, and quick setup. I’ll walk through how those trade-offs play out so you can pick what matters most for your route and rhythm.

Storage: vestibules, pockets, and how much you really need
Vestibules win when you use wet boots, cook under shelter, or stash packs overnight. Single-vestibule single-wall tents lighten pack weight but limit gear separation; double vestibules give you choices but add poles and grams. Internal pockets are free wins — they stop headlamp scavenger hunts. Measure your real kit: if your shelter doubles as a kitchen, prioritize vestibule volume. If you’re a minimalist who wears everything, internal organization and lighter floor area beat oversized porches.
Ventilation versus weatherproofing: a deliberate trade
Mesh panels plus a rainfly are the standard compromise. More mesh equals better condensation control but less dead-of-night warmth. On humid, high-usage routes you’ll notice the difference fast. On the John Muir Trail I learned clothes-drying on a single-pole shelter can be a damp, miserable affair; that trip made the need for purposeful airflow obvious — which is why I now suggest anyone doing long southern-Cascades or Sierra stretches consider compact tents for backpacking that prioritize vent placement and adjustable fly geometry. Good vents let you reduce condensation without sealing yourself into an oven; bad vents just leak.

Comfort: floor space, headroom, and setup friction
Comfort isn’t luxury. It’s usable sleep. A narrower ultralight floor saves ounces but forces knees to the side; extra headroom reduces claustrophobia and makes cooking inside tolerable. Setup speed matters more than the spec sheet: if a tent’s pitch sequence is fussy, you’ll skip the vestibule and sleep with your kit inside. Look at pole architecture — single-hoop designs pitch fast and are friendlier solo, while multi-pole setups can offer more livable geometry. Test the footprint-to-floor-area ratio: two square feet of vestibule can make a bigger difference than an extra inch of interior width.
Alternatives and the common mistakes that turn a hike sour
Tarp shelters and bivy sacks shave weight but expose you to more condensation, bugs, or wet gear if conditions sour. Choosing a heavier “weatherproof” tent when your route is dry wastes weight. Buying strictly on advertised weight is a classic mistake; people forget stakes, footprint, and repair kits add mass and decisions. Also don’t assume any tent’s claimed capacity equals comfort — a “2-person” label is often two people squeezed in. Short lists to avoid regret: don’t ignore vestibule size, don’t skip a real-world pitch test, and don’t buy only from specs without checking setup time and seam protection.
Decision checklist and final synthesis
Compare candidate tents on these points: vestibule volume per liter of packed gear, mesh-to-fly ratio for your season, real setup time solo, floor dimensions with your pad, and how many grams you can afford to trade for comfort. My practical rule after years of guide work and nights testing tents in wet and dry mountains: prioritize the one feature you’ll miss most when it’s gone. If that’s warm, get more fabric; if it’s dry storage, get the vestibule; if it’s sleep quality, get the width and headroom. The compact choices on THECATAL show how small design shifts — pocket placement, vent angle, vestibule depth — change the overnight experience without demanding a major weight penalty, which is the sensible end of this comparison-based decision process.