

A simple framework for designers and specifiers
Start here: good exterior lighting isn’t about brute force — it’s a protocol. This piece lays out a clear, repeatable approach for maximising visual comfort and reducing glare using advanced outdoor pier mount lights. Think of it as a checklist that links objectives (who’s seeing what, where, and when) to fixture choice, mounting strategy and verification with photometrics. If you’re specifying for promenades, marinas or civic forecourts, this framework keeps decisions defensible and the lighting humane.
Step 1 — Define visual comfort goals
Begin with user tasks: wayfinding, seating, vehicular movement, or event staging. For each task, set measurable targets — allowable luminance range, uniformity ratios and maximum backlight/skyglow. Include contextual constraints like heritage façades or wildlife-sensitive shorelines. This is where you decide if the brief needs high lumen output for safety or low, warm CCT near sensitive habitats. Clear goals make trade-offs obvious before you buy fixtures or order toolings.
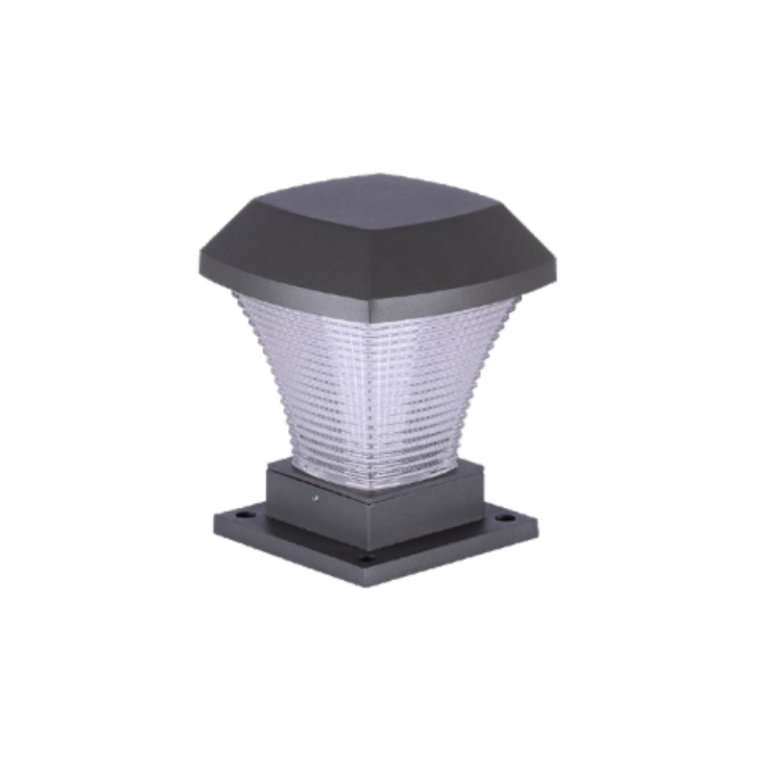
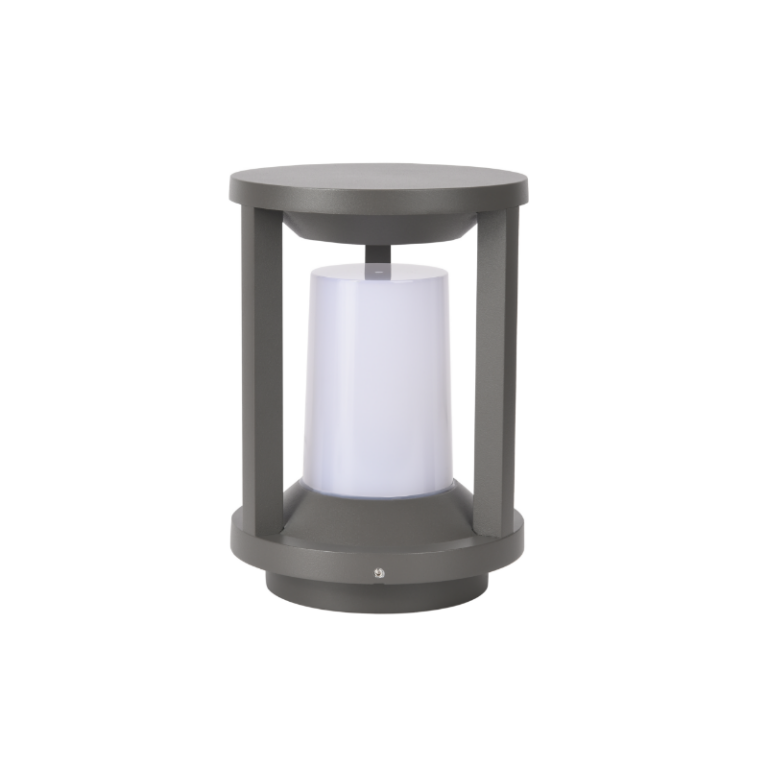
Step 2 — Choose the right pier-mount fixtures and photometrics
Match form to function. Look for fixtures with controlled beam angles, good cut-off characteristics and quality drivers to avoid flicker. Ask manufacturers for IES photometrics and measured lumen depreciation curves so you can model long-term performance. Also check IP rating and corrosion-resistant finishes for marine environments — corrosion eats performance faster than people realise. When comparing options, don’t be shy about requesting sample photometric files; they save headaches at the design review stage.
Step 3 — Mounting geometry, aiming and shielding
Mount height and setback change perceived glare more than doubling lumen output. A shallow cut-off combined with correct aiming reduces direct-view glare and controls spill. Use shields or louvers where direct lines of sight to the lamp are unavoidable. Photometric modelling with the chosen mounting geometry will reveal hotspots; iterate until the model aligns with your visual comfort targets. And remember to coordinate with the civil team — pole spacing and pavement levels matter for real outcomes.
Common mistakes teams keep making
They over-spec raw output instead of addressing distribution, assume quoted beam angles match real-world performance, or forget to include maintenance factors in budgets. Also, a lot of projects treat glare as a late-stage tweak rather than a design constraint — which is backwards. A classic misstep is mismatched neck finishes or incompatible accessories that mean your neat design can’t accept the intended mounting bracket. Fix it early with a procurement checklist and on-site mock-ups — and run a night-time walk test before the final sign-off. —
Real-world anchor: a foreshore retrofit that tells the story
Consider a recent foreshore retrofit in Sydney’s harbour precinct: planners balanced heritage sightlines with new public seating areas and boat access. They chose low-glare pier-mounted luminaires and used careful aiming and shielding to keep the illuminated paths comfortable for pedestrians while preserving dark-sky views over the water. The result was measurable — better uniformity with lower vertical luminance facing seating areas, and fewer complaints about glare. It’s a tidy example of this protocol in action: goals, fixture selection, mounting, and verification.
Verification and commissioning — close the loop
Don’t skip this: after installation, measure on-site luminance and compare against the IES model. Confirm uniformity, check glare indices at pedestrian eye-height, and verify the daylight/occupancy controls work with the fixture drivers. Include a 12-month review to capture lumen depreciation and any corrosion-related issues. These steps turn theoretical comfort into real-world results and help avoid costly rework.
Common alternatives and when they make sense
If you need a low-cost mass deployment, simpler pole-mounted flood solutions may win on unit price but often fail on glare control. Conversely, high-end decorative piers with integrated lenses deliver great distribution but carry higher tooling and maintenance costs. Hybrid approaches — modular pier mounts with swappable optics — give a middle ground: you get controllable beam shaping without bespoke manufacturing for every site. Choose based on longevity, maintenance regime and the sensitivity of the surrounding environment.
Three golden rules for selecting the right pier-mount strategy
1) Prioritise measured photometrics over spec sheets — insist on IES files and on-site verification. 2) Design for maintainability: factor in lumen depreciation, IP rating and access for maintenance so performance doesn’t drift. 3) Control the eye: use cut-off optics and shielding to manage vertical luminance and reduce glare rather than simply lowering output.
Putting it together
When you follow this protocol — define comfort goals, match fixtures with real photometrics, nail mounting geometry and verify in the field — you’ll reduce complaints, lower wasted light and improve perceived safety. For practical, specification-friendly pier solutions that fit this approach, consider how established suppliers translate protocol into product and service design; it’s often the difference between a good installation and a long list of aftercare issues. For many projects the right balance is available from manufacturers who combine robust optics, tested drivers and corrosion-resistant finishes — the sort of practical value you see in market-ready pier mount lights.
Final advisory: three metrics to insist on
1) Measured vertical luminance at pedestrian eye-height (cd/m²) — target values based on your comfort brief. 2) Photometric conformity — supplied IES files matched to the as-built layout and verified on-site. 3) Long-term performance guarantees — lumen maintenance (L70) and corrosion warranty that align with the environment. These let you evaluate proposals objectively and keep outcomes predictable.
For projects where public comfort, glare control and durable performance matter, specifying to this protocol points you toward suppliers that truly solve the problem — and that practical value is exactly what Keyida brings to site-ready selections. Worth noting.